2000 Nissan Frontier Cooling System and Timing Repair

In early 2023, I purchased an overheated manual 4x4 Nissan Frontier with the hope of getting it back on the road. Compression tests on the cylinders revealed leakage past the piston rings on cylinders four and six. These results were corroborated by a leakdown test. Despite the almost certain cylinder and piston scoring on these two cylinders from the overheating incident, I could not find any evidence of head gasket or valve leakage. The engine ran well enough I decided to attempt to repair the cooling system.
Problem Diagnosis
The previous owner cited a water pump failure as the reason for the overheating and a visual inspection seemed to confirm this diagnosis. Dried coolant was spattered around the bottom of the water pump and a coolant-oil mixture was seeping from the drainage channel in the lower timing cover. With this confirmation, I purchased an OEM Aisin timing kit and started the disassembly procedure.
Disassembly
Coolant Drainage
I drained the radiator from the pecock located in the center of the lower radiator tube. The service manual also recommends draining any coolant in the block from plugs located on the left and right side of the engine. After battling with the corroded heads of the plugs for a while, I gave up when I felt them starting to round off.
Serpentine Belt Removal
Each of the three serpentine belts has its own corresponding screw-type tensioner. I loosened these, removed the belts and marked the direction they had been installed.
Harmonic Balancer Removal
This is where things started going a little pear-shaped. The removal of the crankshaft bolt went smoothly, I prevented the engine from turning counter-clockwise with the bolt by putting the car in a high gear. The harmonic balancer is designed to be removed with a puller tool that tugs on two M6 x 1 holes in the balancer. As I threaded the puller bolts in, the corrosion inside the threads stopped me only a couple threads deep. I recalled a post recommending chasing the threads with a tap before using them. I foolishly ignored it. I attempted to snug the bolts with a wrench and felt one bind up. When I tried to loosen it, it snapped off in the harmonic balancer.

I ultimately removed the snapped bolt with a 7/64 extractor bit and repaired any marred threads from the extraction process with a helicoil. One of the best tips I learned during this pocess is to smooth the surface of the broken bolt before attempting to drill into it. Center punch the bolt and use a large drill bit to dish out the bolt around the punch mark. This prevents the smaller drill bit from walking off-center and even allows for small angle corrections during the drilling process.
Timing Belt, Tensioner, and Water Pump

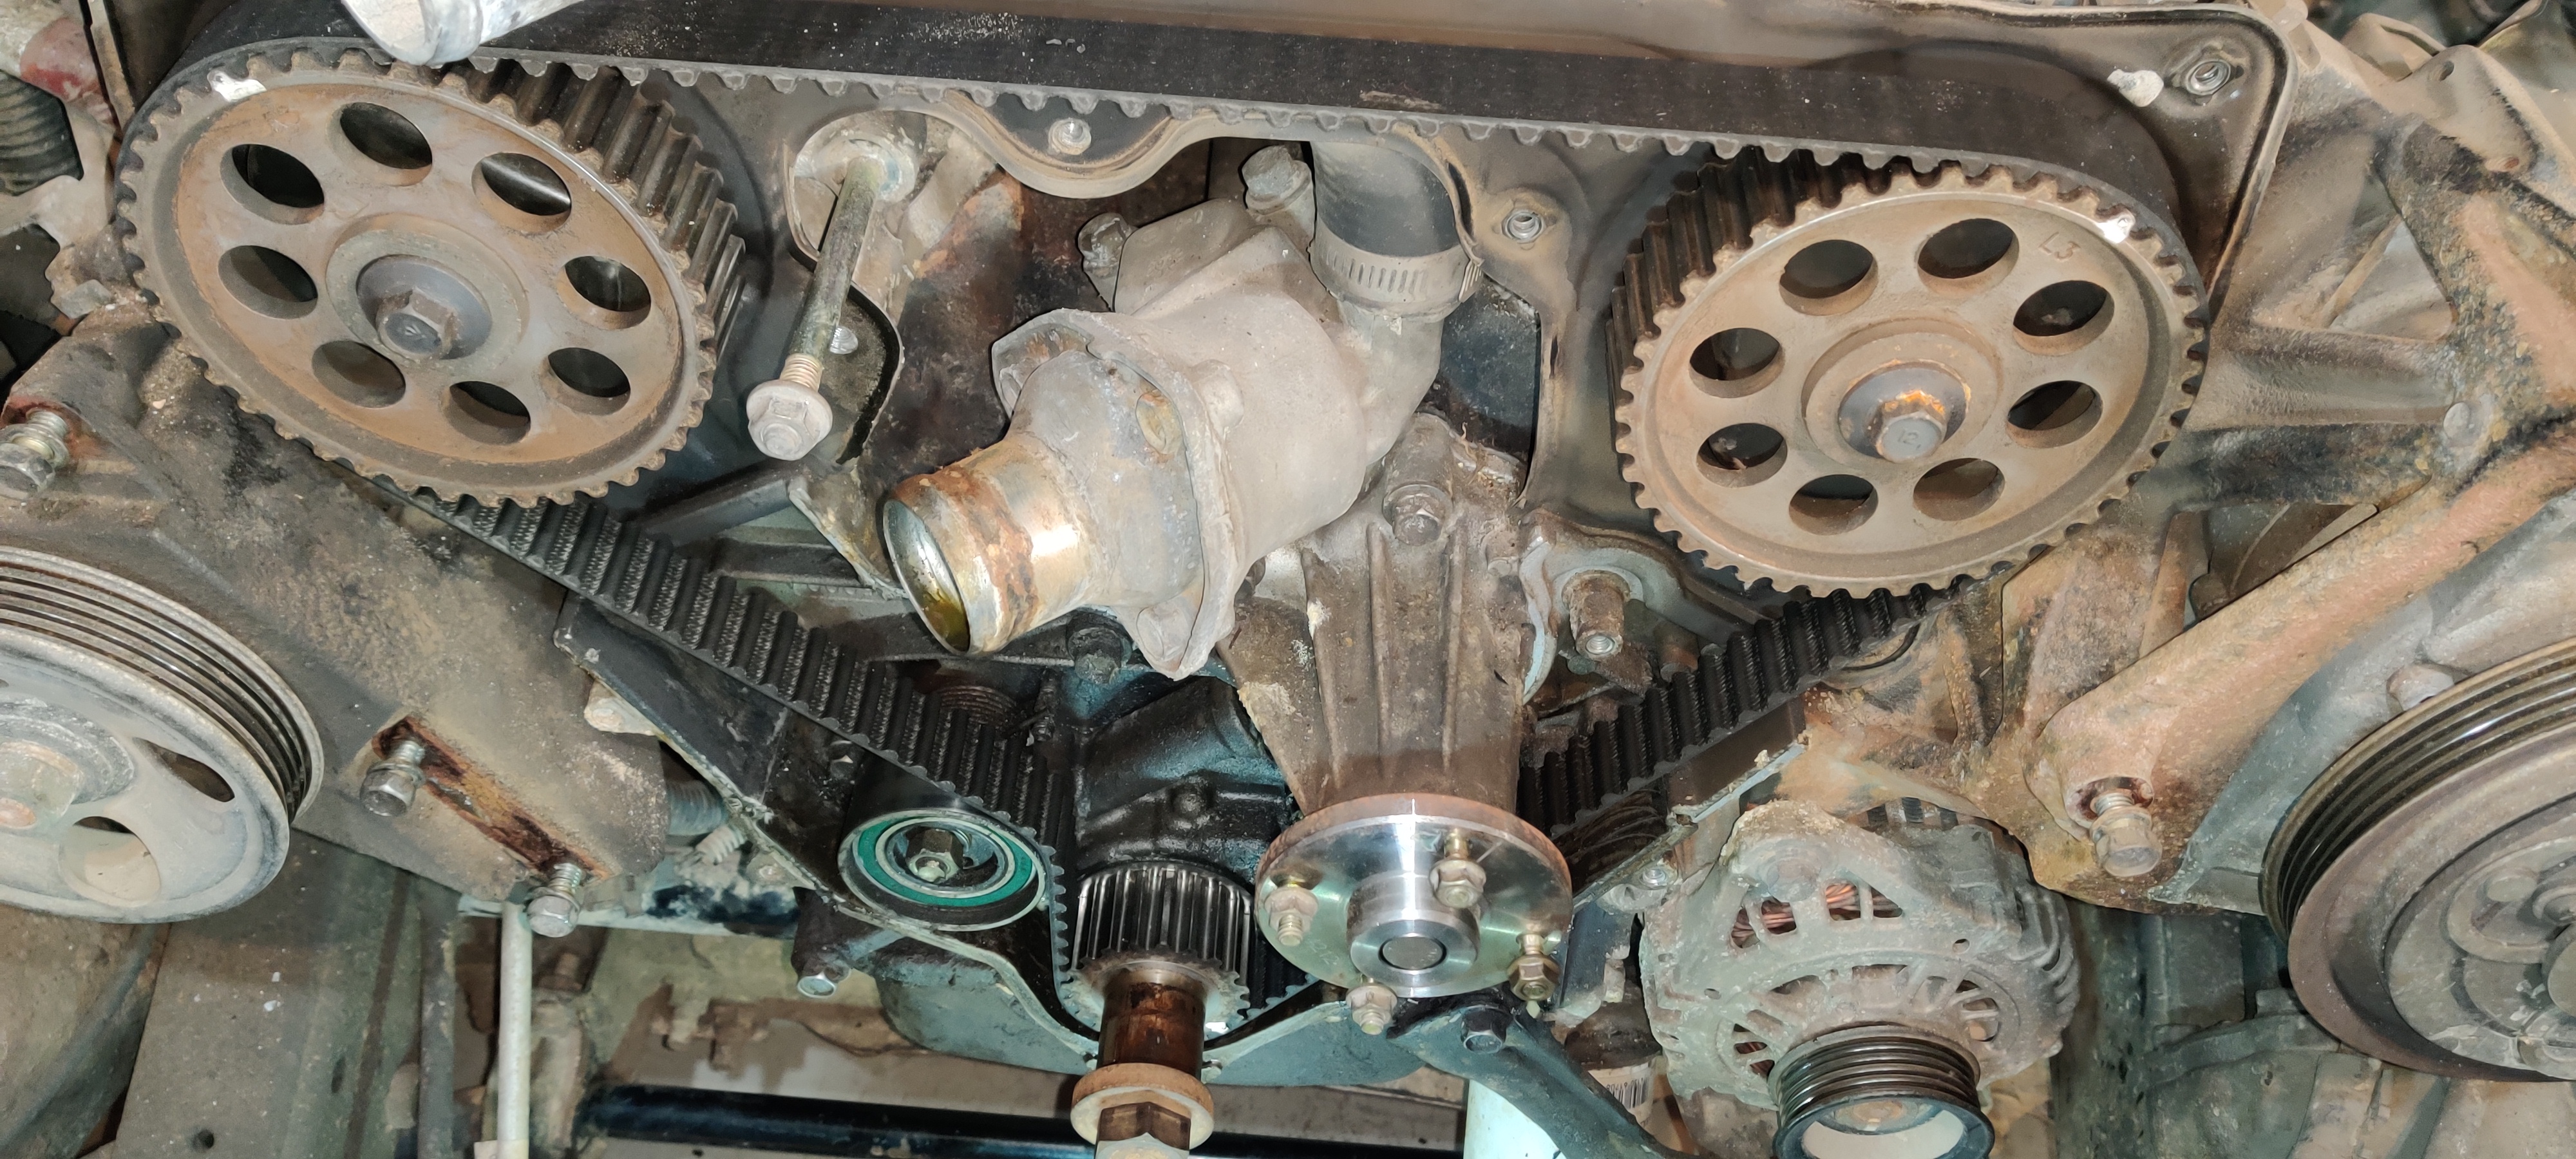
Once the harmonic balancer was removed, I was able to easily remove the lower timing cover and access the timing componenents. As I lifted the timing cover off, it was evident there was a coolant leak originating from the water pump. I reinstalled the crank bolt and removed the spark plugs (with the exception of #6 because it is difficult to reinstall) so I could turn the engine over easily by hand. I then removed the timing belt, tensioner and water pump for inspection.
Reassembly
Water Pump
The old water pump was a cheaper, aftermarket part that was leaking from its paper gasket. There was play in the impeller mechanism and seepage from the weep hole that indicated it had been on the way out for a long time. I cleaned all the gasket residue left on the engine with a razor blade and a white polymer Roloc bristle disc. The white Roloc discs are very soft and will not marr the sealing surface, even with soft metals like aluminum. This VG33E engine block is cast iron and stood no chance of marring from the disc.
I installed the new water pump gasket dry, as the service manual did not recommend using sealant. The old water pump was installed with RTV sealant, so I will be interested to see how this affects the gasket lifespan. The service manual also does not specify a tightening sequence for the water pump bolts, so I gradually torqued them to spec in a star pattern.
The Case of the Missing Timing Mark
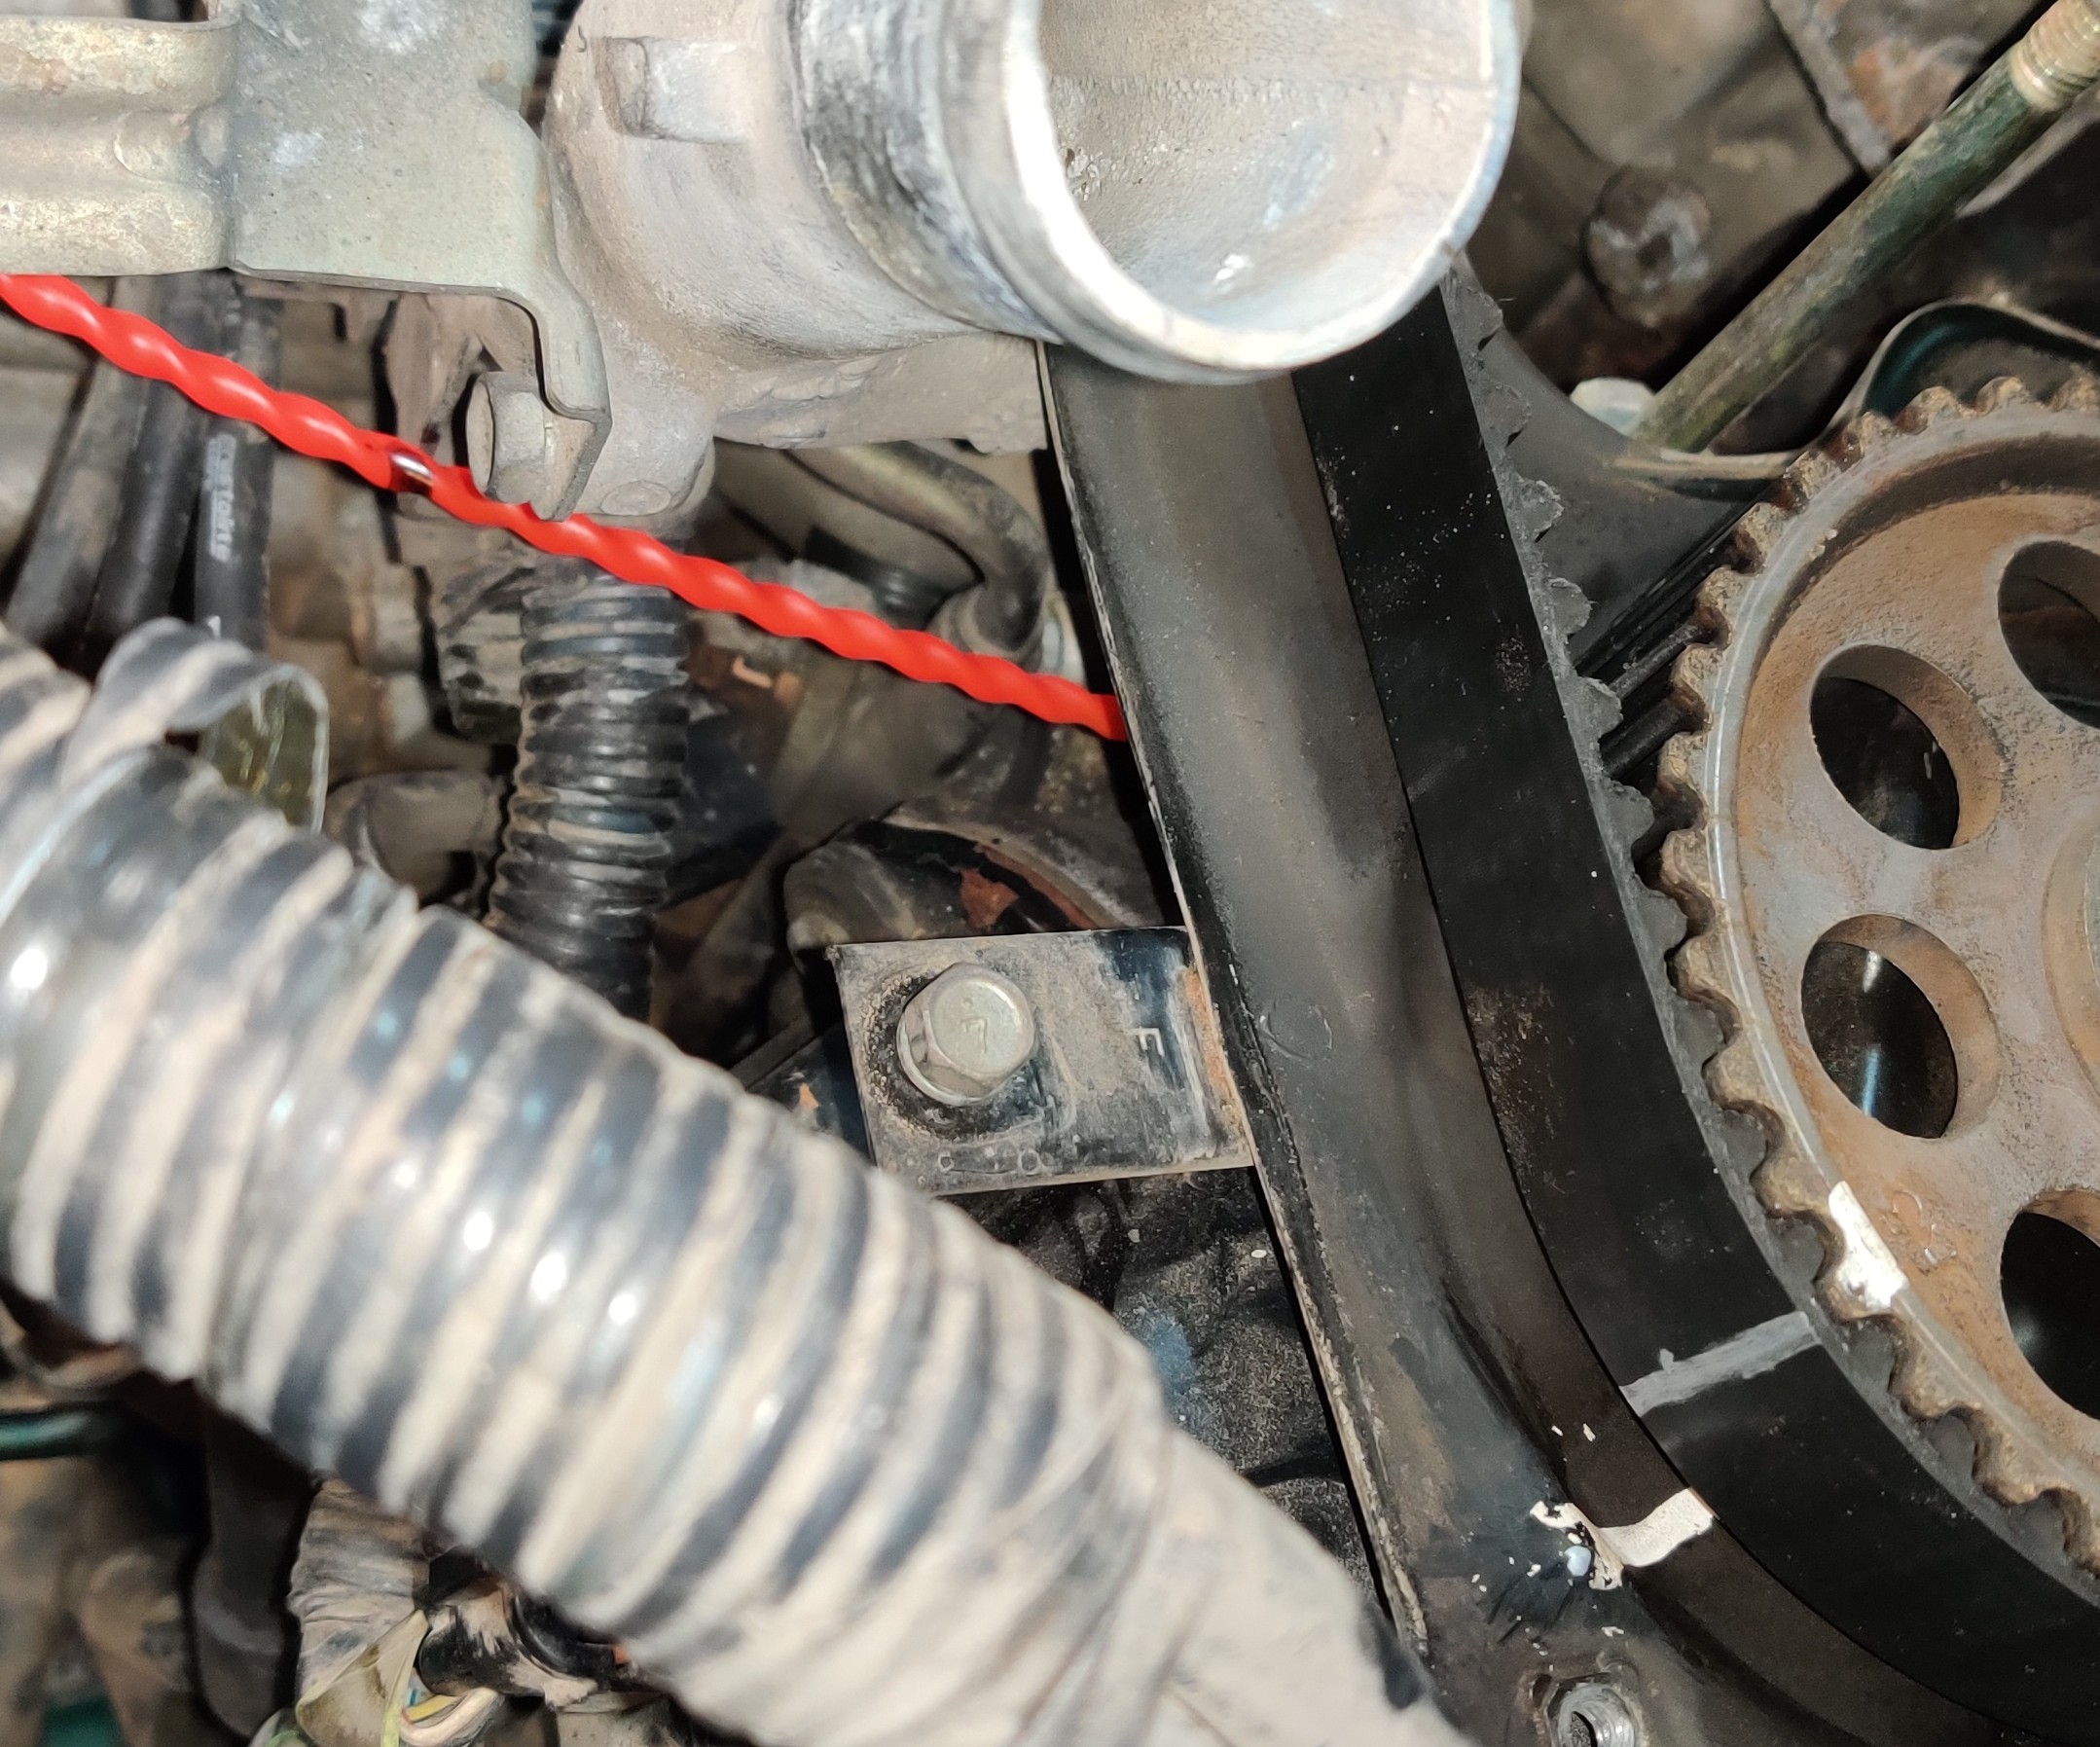
Setting the engine to top dead center (TDC) was difficult at first because the timing mark was missing from the engine. I scoured the front of the engine for any kind of indentation, paint, or scratch. No marking revealed itself. So, I resigned to making one myself. The TDC marking on this engine corresponded to the top of the compression stroke on cylinder #1, so I stuck a plastic rod down into the spark plug hole to measure the stroke progression.

Each time I rotated the engine around to TDC, I measured the maximum height of the plastic rod against a metal bracket on the engine and marked it. If the mark was ever higher than the bracket, I reajusted the markings to reflect this new TDC measurement. I felt confident in the markings after five tries and marked the engine accordingly. You may have noticed from the photo that right-hand camshaft timing is a tooth off. We’ll get to that next.
Retiming
Whoever last serviced the timing belt incorrectly timed the engine. This was evident by the cam sprocket markings as well as the number of belt teeth between the two camshaft timing marks. The camshaft would have to be turned back a tooth to fix the timing. Correcting this mistake caused me to make a few of my own, as I had never retimed an engine of this size or configuration.
Springs Have Tension
Nothing I found on the internet had satisfactory instructions on how to retime the camshaft sprocket. In hindsight, I would have tried putting the new belt on with the correct number of teeth in between each sprocket and let it pull the gears into alignment as it was tensioned. Instead, I tried to move the camshaft sprocket by hand with no belt on the timing components. This is a terrible idea because the camshaft is under tension from the valve springs, causing it to be at an unstable equilibrium. When I preturbed it from this equilibrium, the gear jumped seven teeth forward.
The engine was now even farther out of time than it was when I started. I invested in a camgear wrench to rotate the gear backward to its correct timing mark and installed the new belt and tensioner. I rotated the engine over a couple times by hand to ensure all the timing marks were realigning and nothing was binding inside the engine.
Finishing Up
I cleaned and reinstalled the timing covers, the harmonic balancer and crankshaft mating surfaces, radiator, hoses, air intake box, and wiring harness. I reinserted the spark plugs and spark plug wires, reconnected the battery, filled the radiator with coolant and fired it up. The engine seemed to run slightly better at idle, although I admit this could have been my imagination. At this time, I checked the system for coolant leaks and found none. I bled the cooling system of any air by following the servie manual instructions. I then installed the radiator cap and let the cooling system pressurize. The engine no longer overheated.
This was a fun project that illustrates the importance of hands-on experience. Even a good theoretical understanding of a topic is difficult to implement in practice, especially when things don’t perform as expected. For example, the amount of tension held by valve springs! The only way to tie the knot between theory and application is to get your hands dirty.